Request Connect (Backoffice) Access
To get start with the APIs, you need to first configure your store through the Connect BackOffice. You should already have access, but if not please reach out to your Internal team, Customer Success Manager or Sales Rep if you’re just getting started. They will provide you with the correct environment for your company, as well as with access rights based on your role.
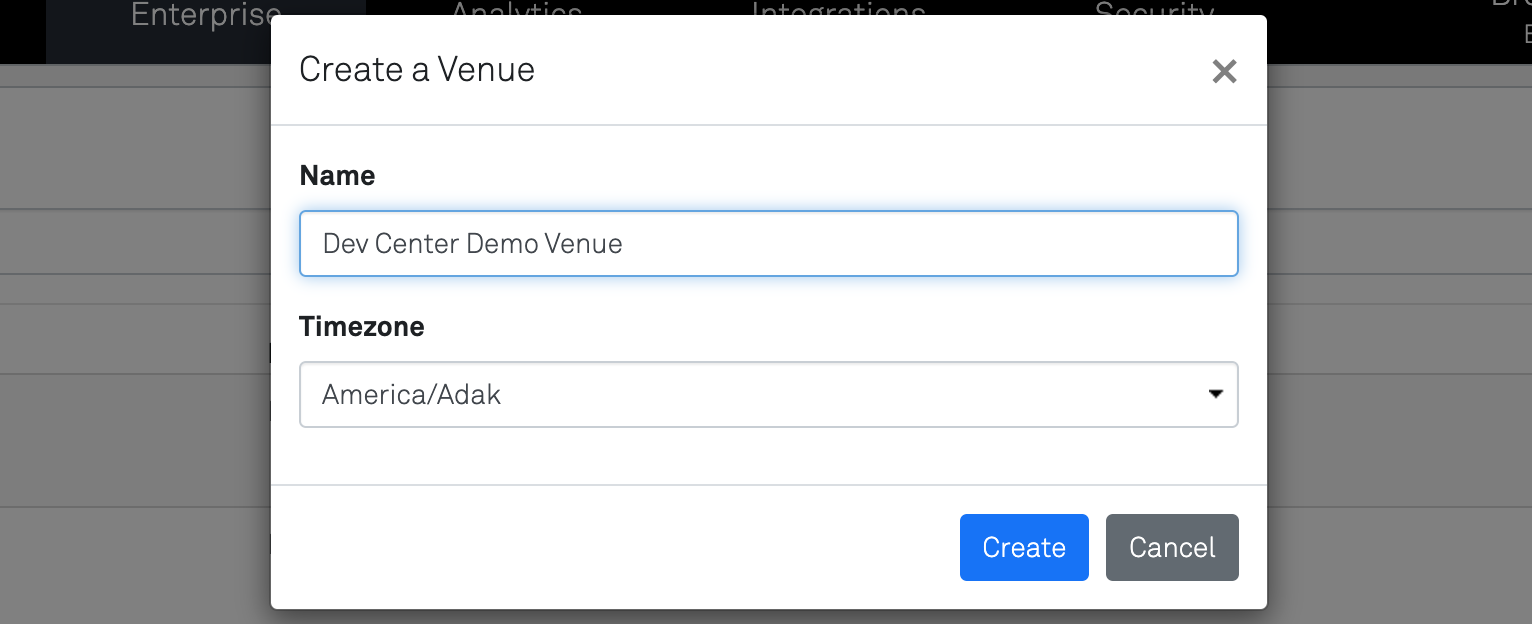
Create a Corporation & Venue(s)
Corporations and Venues are created and managed by Appetize Operations teams.
To get started as a new corporation or create a new venue in your current corporation, please reach out to your Client Success Manager or Sales Executive so that proper workflows are executed to verify the new venue is accounted for properly.
NOTE
At this point, if you only intend to use the Accounts API to manage Connect and Employee access, having a corporation and venue is enough configuration to get started. You will of course still need to request an API Key (see the Enabling API Access section)
Create Your Vendor
Next up is creating a Vendor if you plan to either place/recall orders or manage your catalog via our APIs. There are a few pre-requisites to creating a Vendor that help set the right permissions and access, so let’s walk through those as well.
Create a Vendor Role
For a complete guide you can read this article, but to get started right now you simply need to create a Vendor Role. Once you have created it, go to the “Assigned Venues” tab and assign it to the Venue you just created. 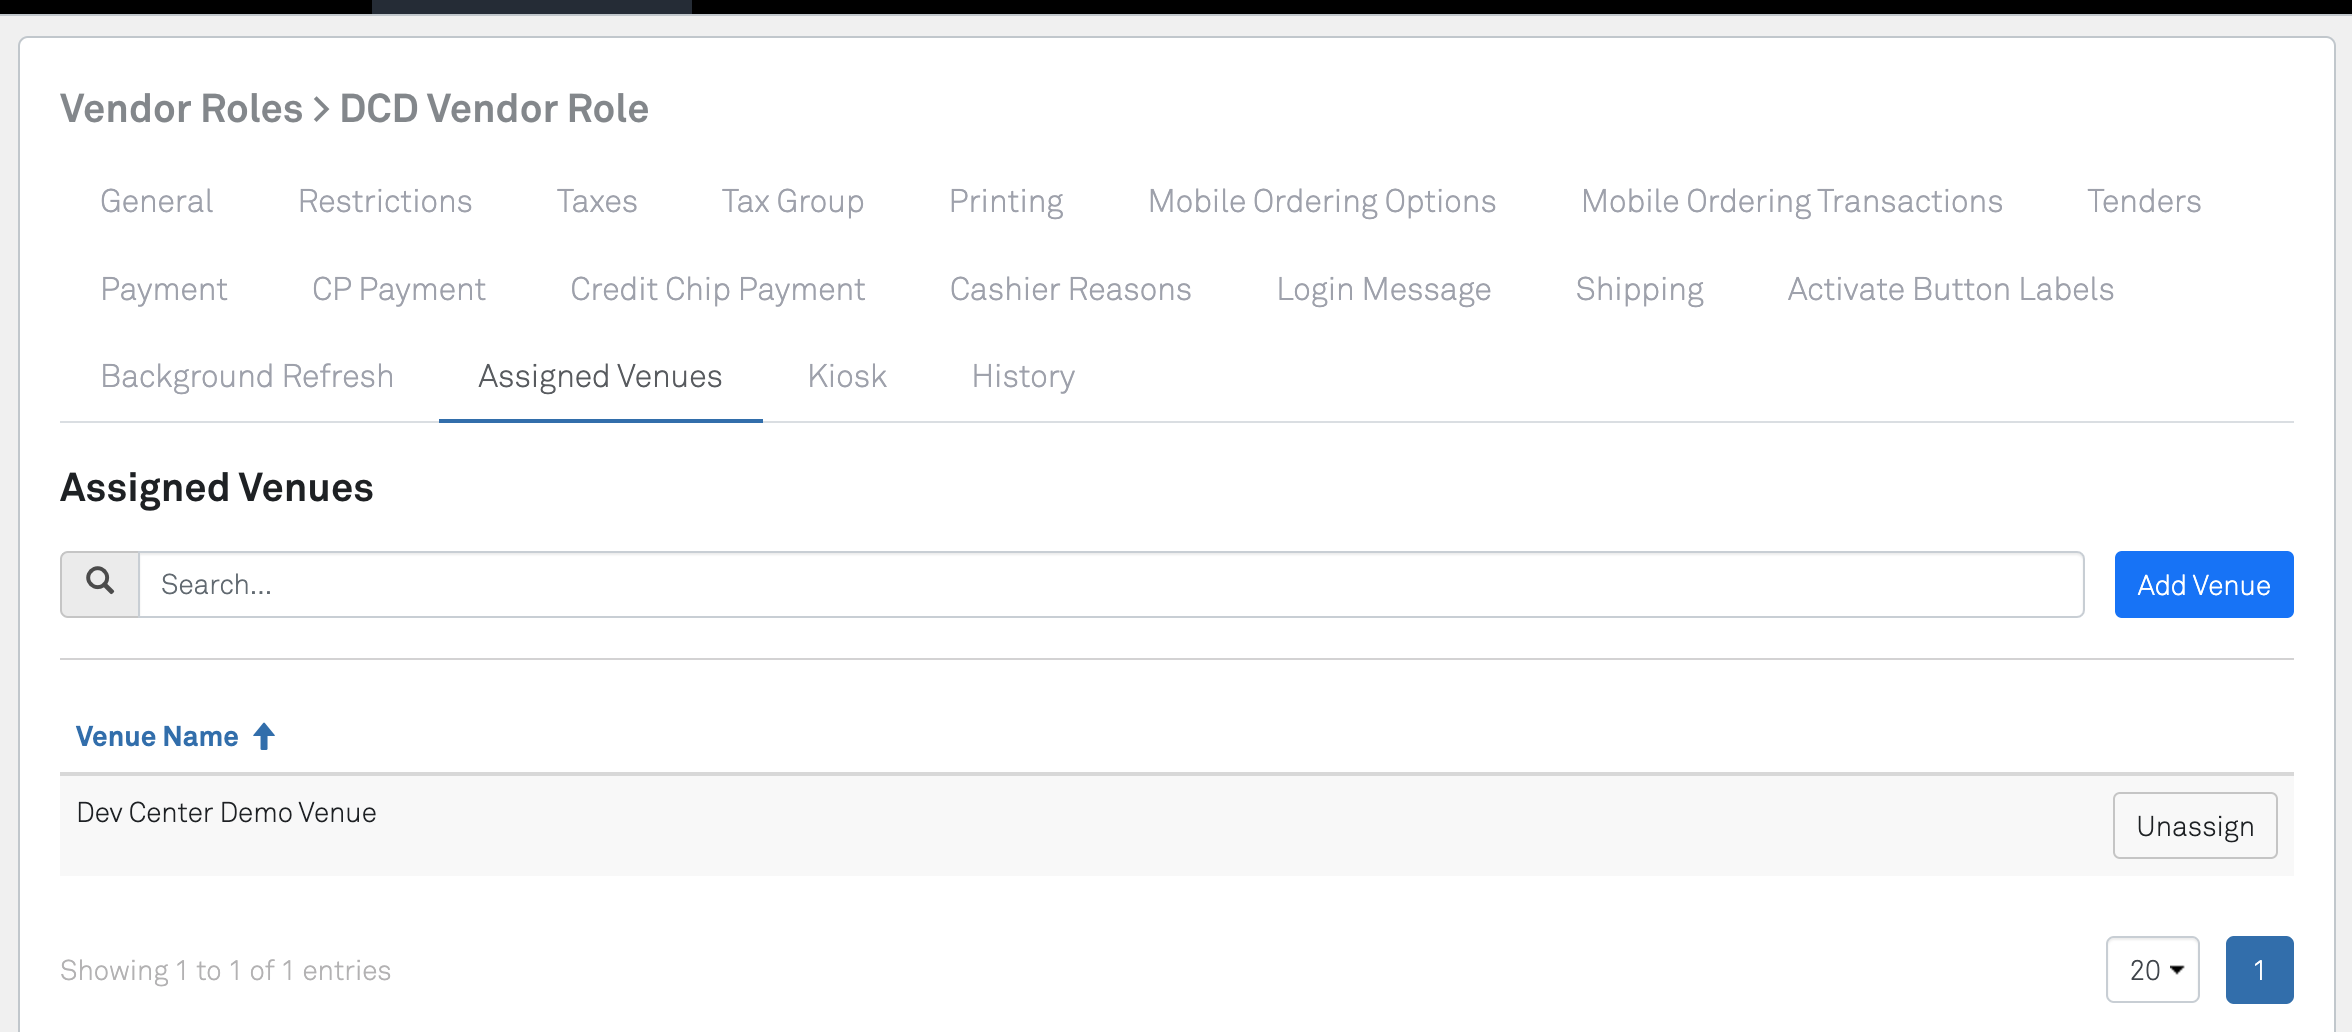
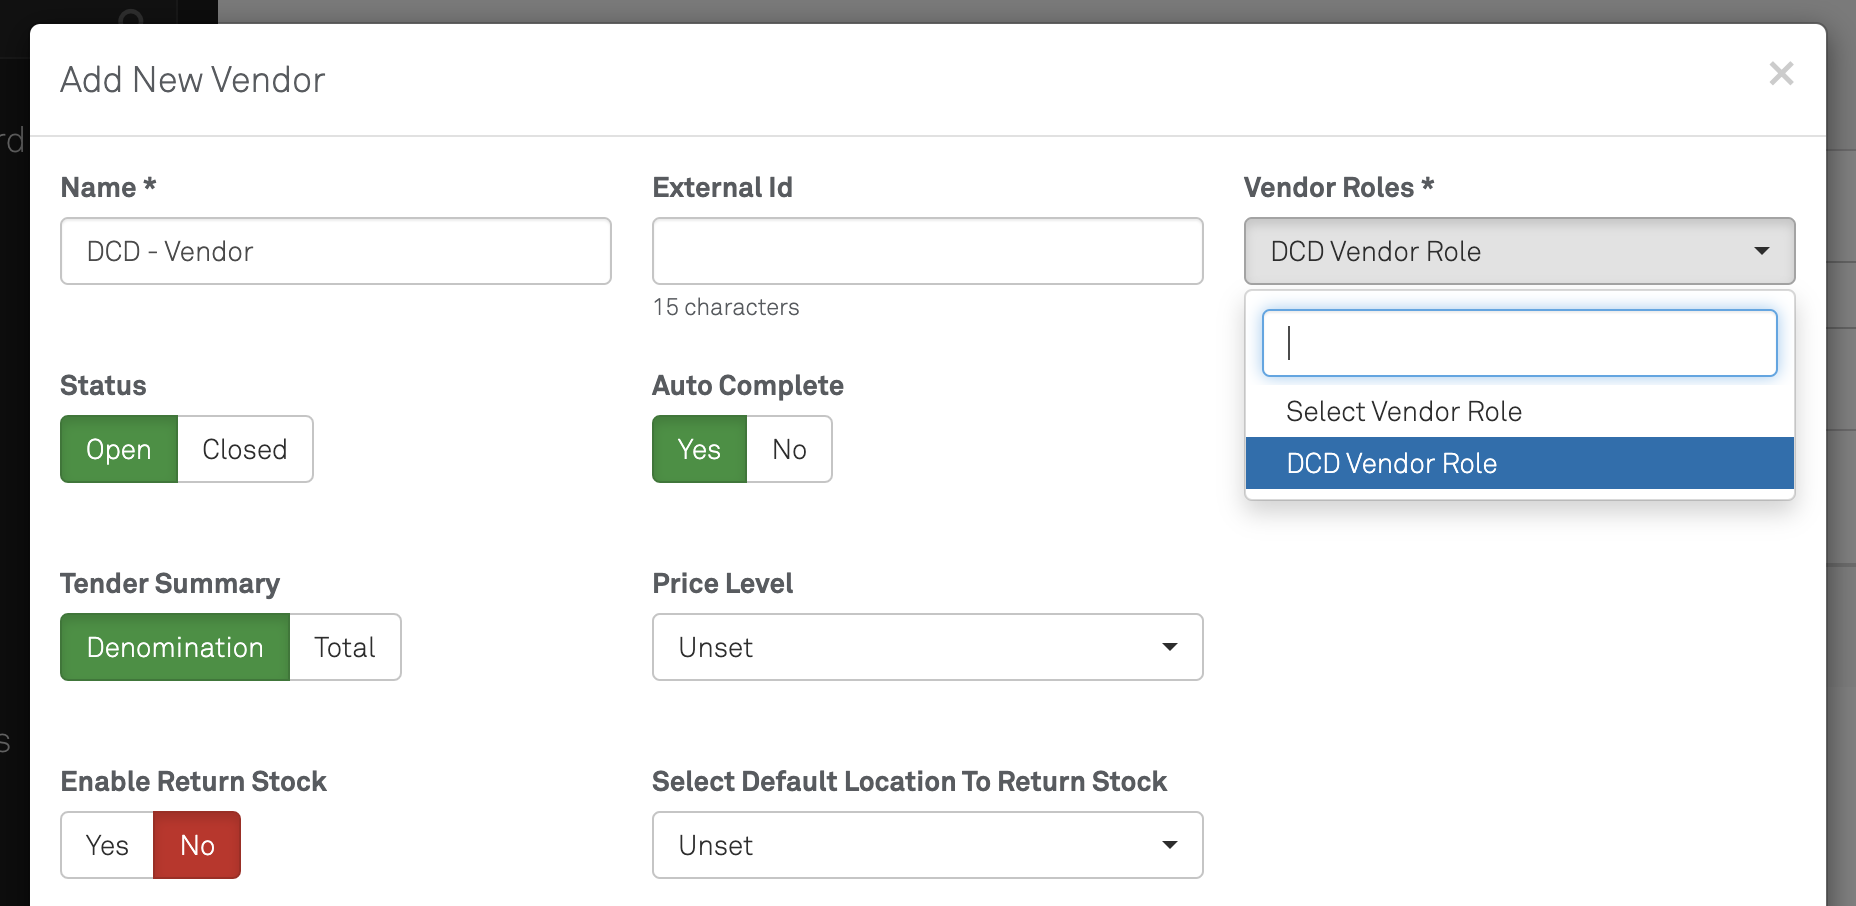
Create Your Vendor
Next step is to log into the Venue, and create the actual vendor. Two things you need to ensure as you create the Vendor:
- Select the Vendor Role you just created in the previous step
- Ensure the “Status” is set to “Open”
For additional optional configurations please see this article that explains Vendor creation in full detail.
Now then, let’s move on to creating an account for the vendor to operate under, as this will be needed for additional configuration on the Vendor a little later.
Create A Terminal Account (so the Vendor can operate)
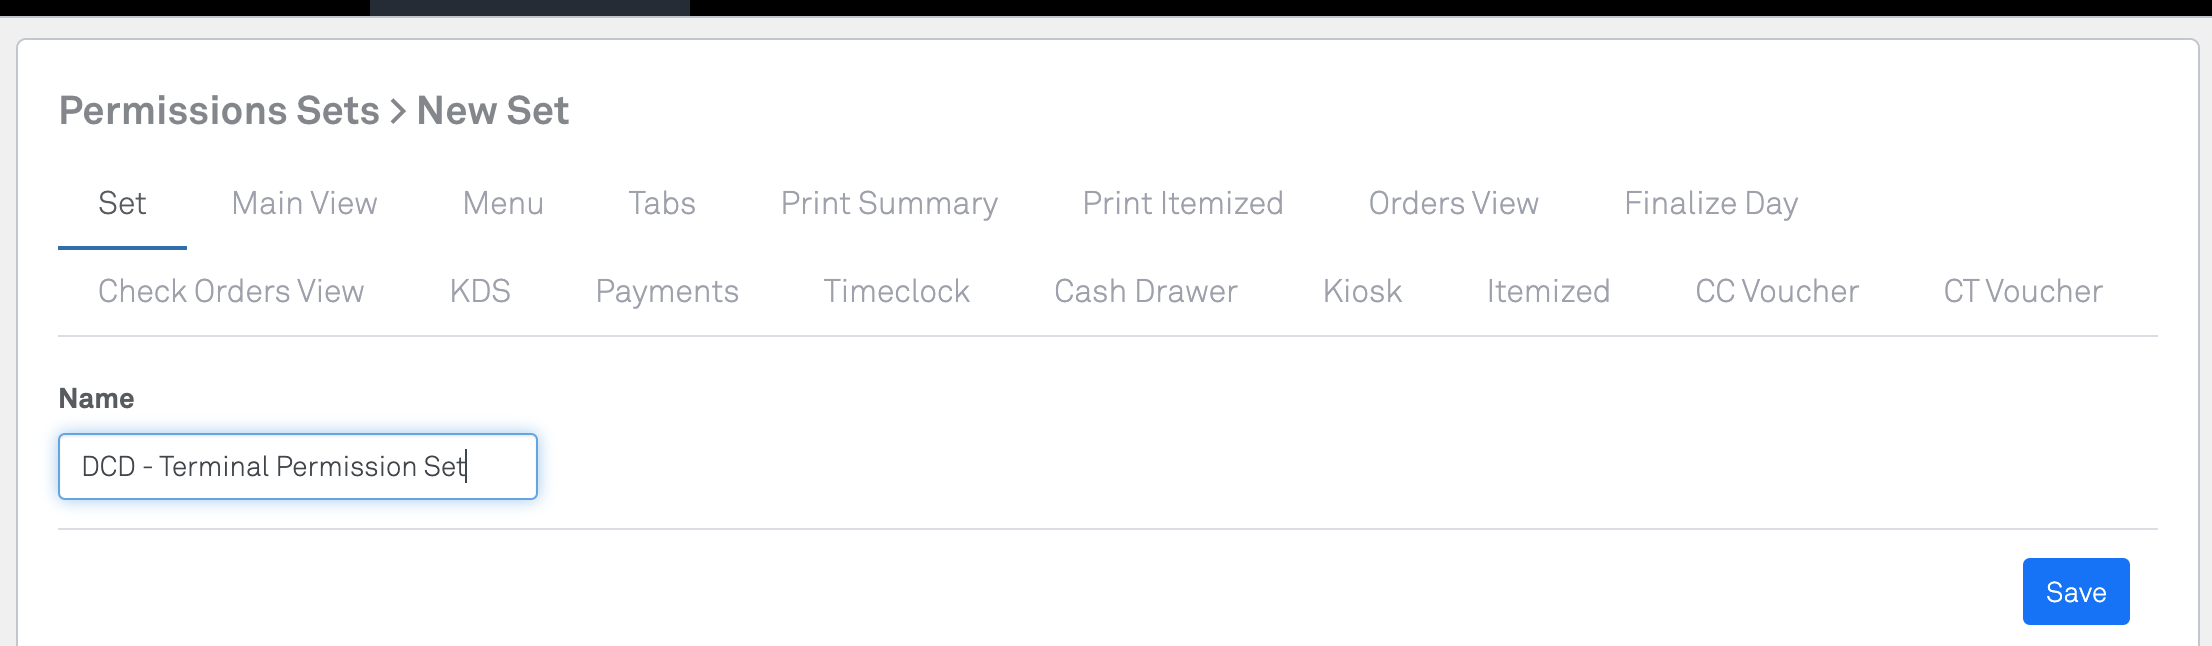
Create A Permission Set
Permission sets are needed as a basis before creating a terminal role and then finally a terminal account. We won’t need to make any adjustments for initial setup, but feel free to review the help guide that explains each permission set toggle in full detail.
Simply create a new permission set that we will use for creating the terminal role next.
Create The Terminal Role
Next up is creating the terminal role. Once again, a more detailed guide is available, but lets get started with the basics.
When creating this role, make sure to select the permission set that you just created in the previous step. Note the “Default Offline Mode” and “Level” are required fields - these aren’t relevant for our setup so set them to “AUTO” and “1” respectively so we can continue to create the role.

Now flip over to the “Assigned Venues” tab of the Terminal Role and make sure you assign the Venue you are using for this setup. 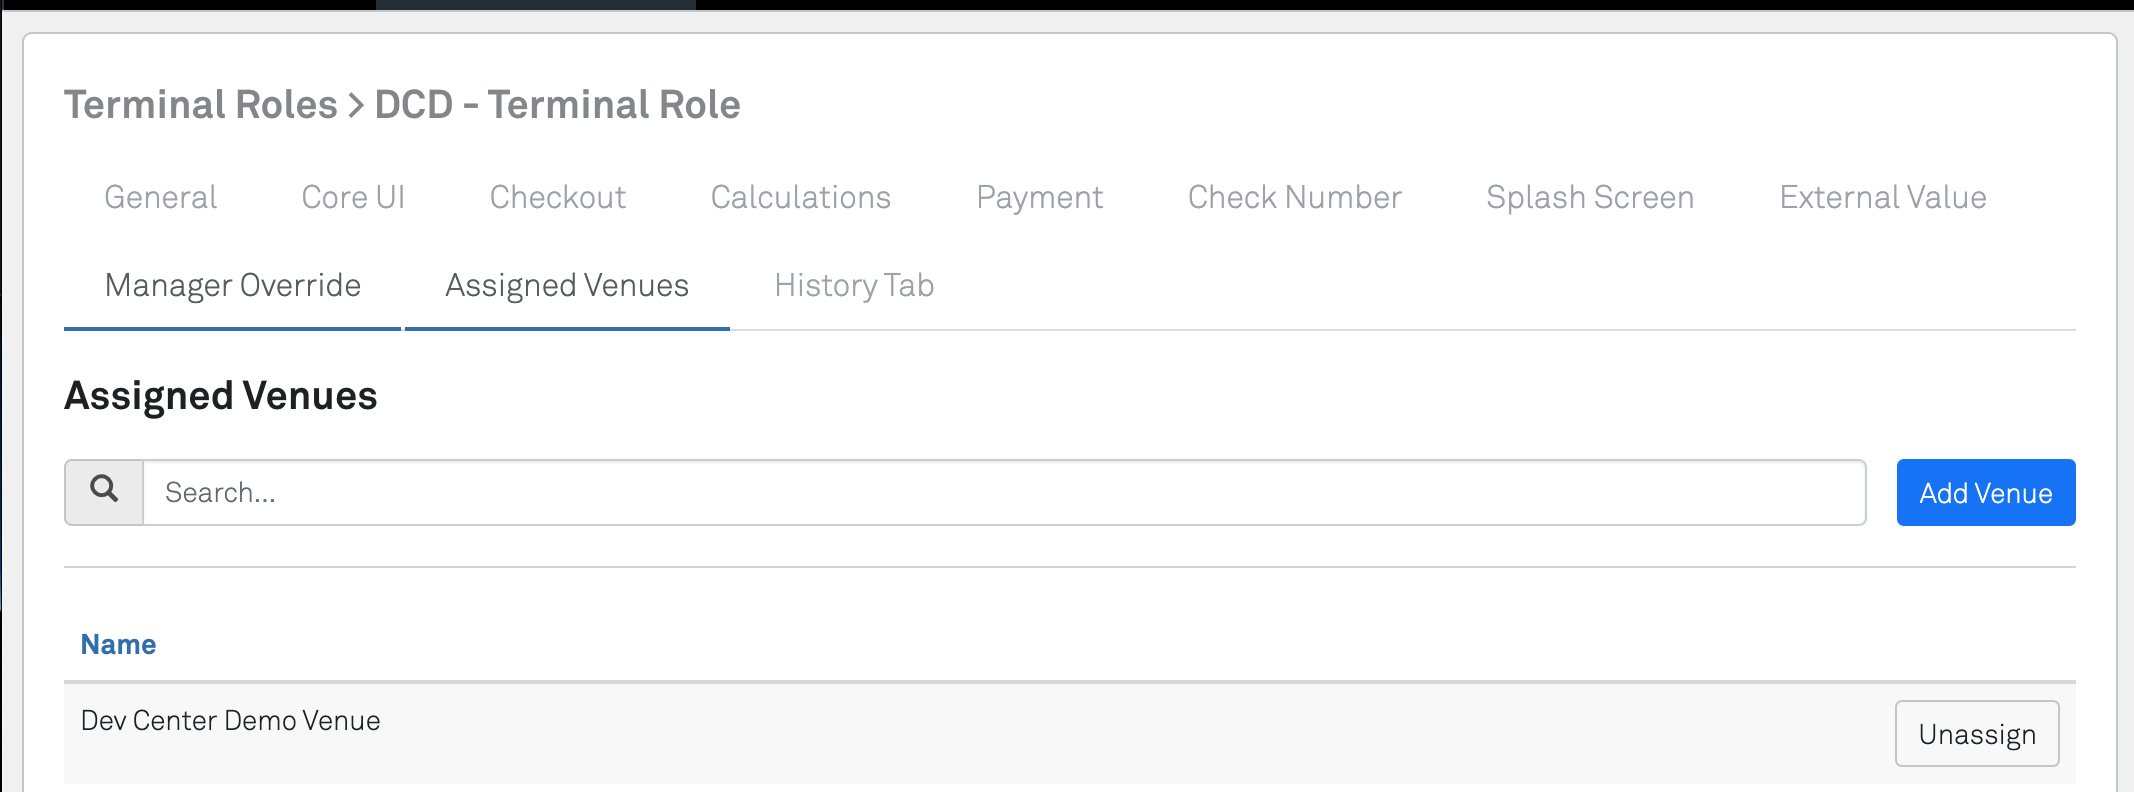
And Finally Create The Terminal Account
Now that we have the necessary Terminal Role setup, we can create the Terminal Account. Think of this as the “operator” of the APIs, like you would have an operator for a POS normally.
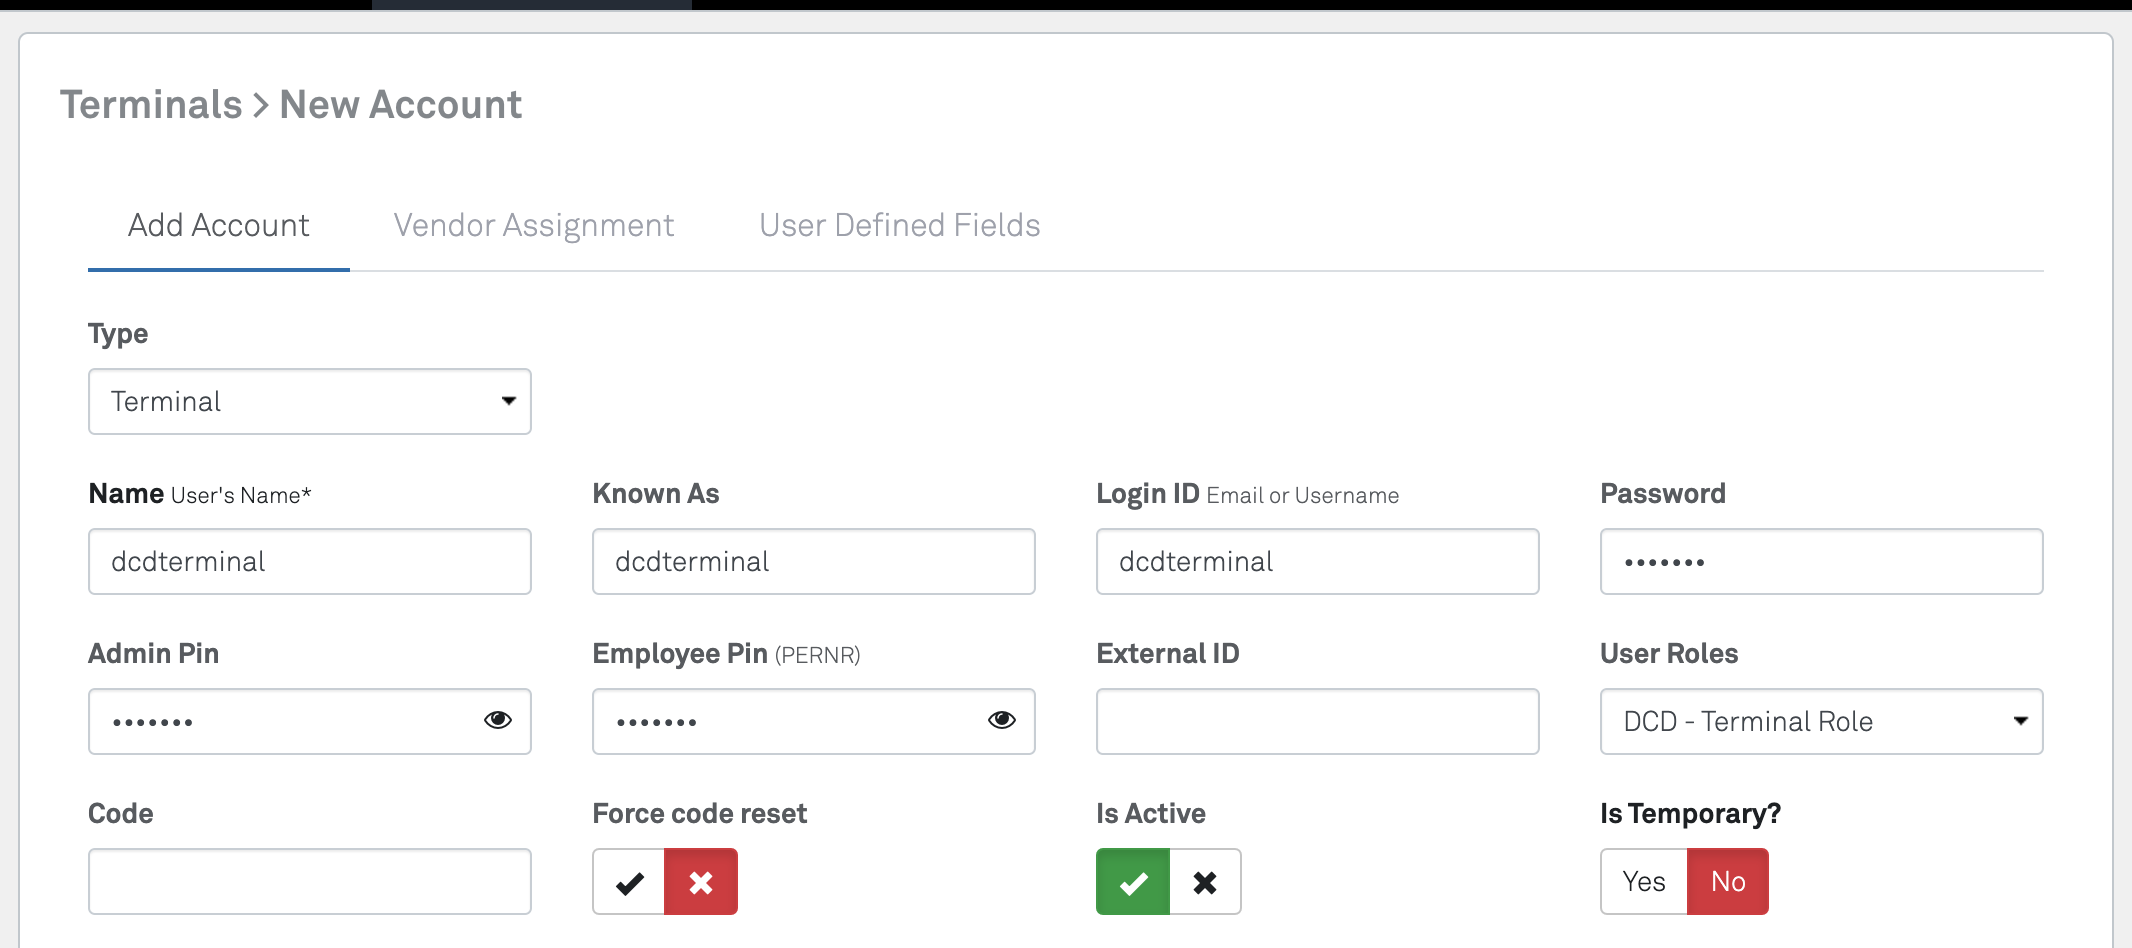
There are a couple of fields here we need to set, along with selecting a vendor assignment, before you can save this new terminal account. Lets walk through them:
- “Type” : Set as “Terminal” (your only option)
- “Name”/”Known As”/”Login ID” : Select any unique name to identify this terminal account, and for purposes of this API Terminal Account keep them consistent.
- “Password” / “Admin Pin” / “Employee Pin” : These aren’t relevant in the API space, but given the evolution of our Backoffice they are still required fields. You will not be needing them beyond this initial setup.
- “Is Active” : Ensure this is True (green check mark)
Before you can save you will need to allocate the Vendor you created above, so switch over to the “Vendor Assignment” tab and do so. 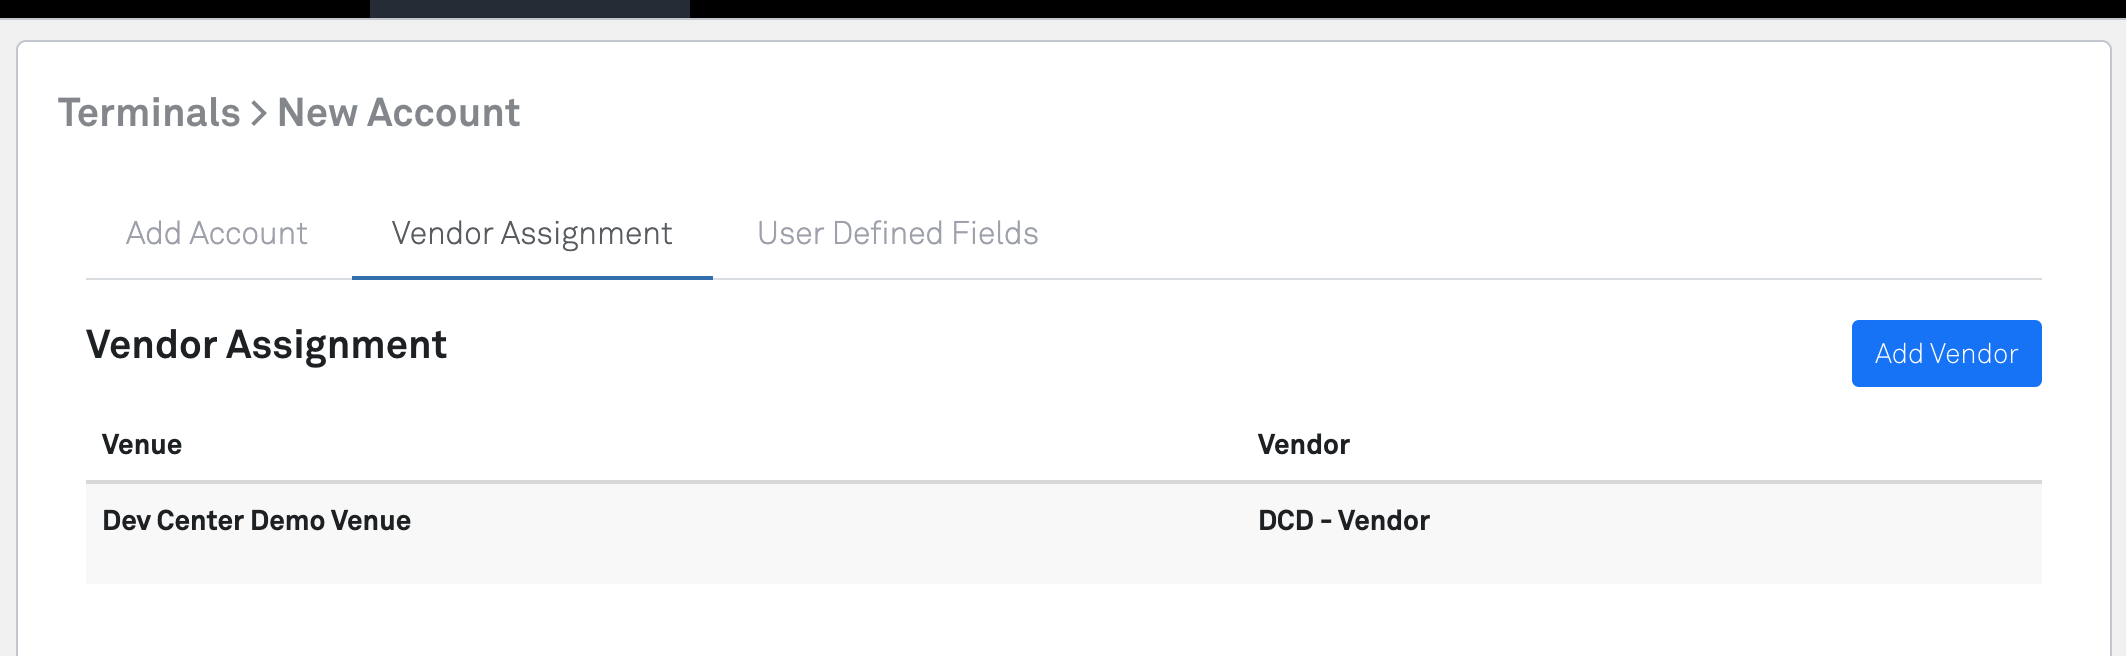
Additonal Info
- Terminal Accounts can be assigned to multiple vendors. When naming your terminal account, determine whether you will use one across all your vendors, or if you will have varying degrees of uniqueness. The name is how you will select the terminal account so make sure it is easily identifiable for your intended use case
- For a more detailed explanation of Creating a Terminal Account please feel free to review this article.
Create A Terminal Account (so the Vendor can operate)
Configure Your Vendor
Alright, now that we have the terminal account created and Vendor created, we have a few final steps to ensure the Vendor is available for API access!
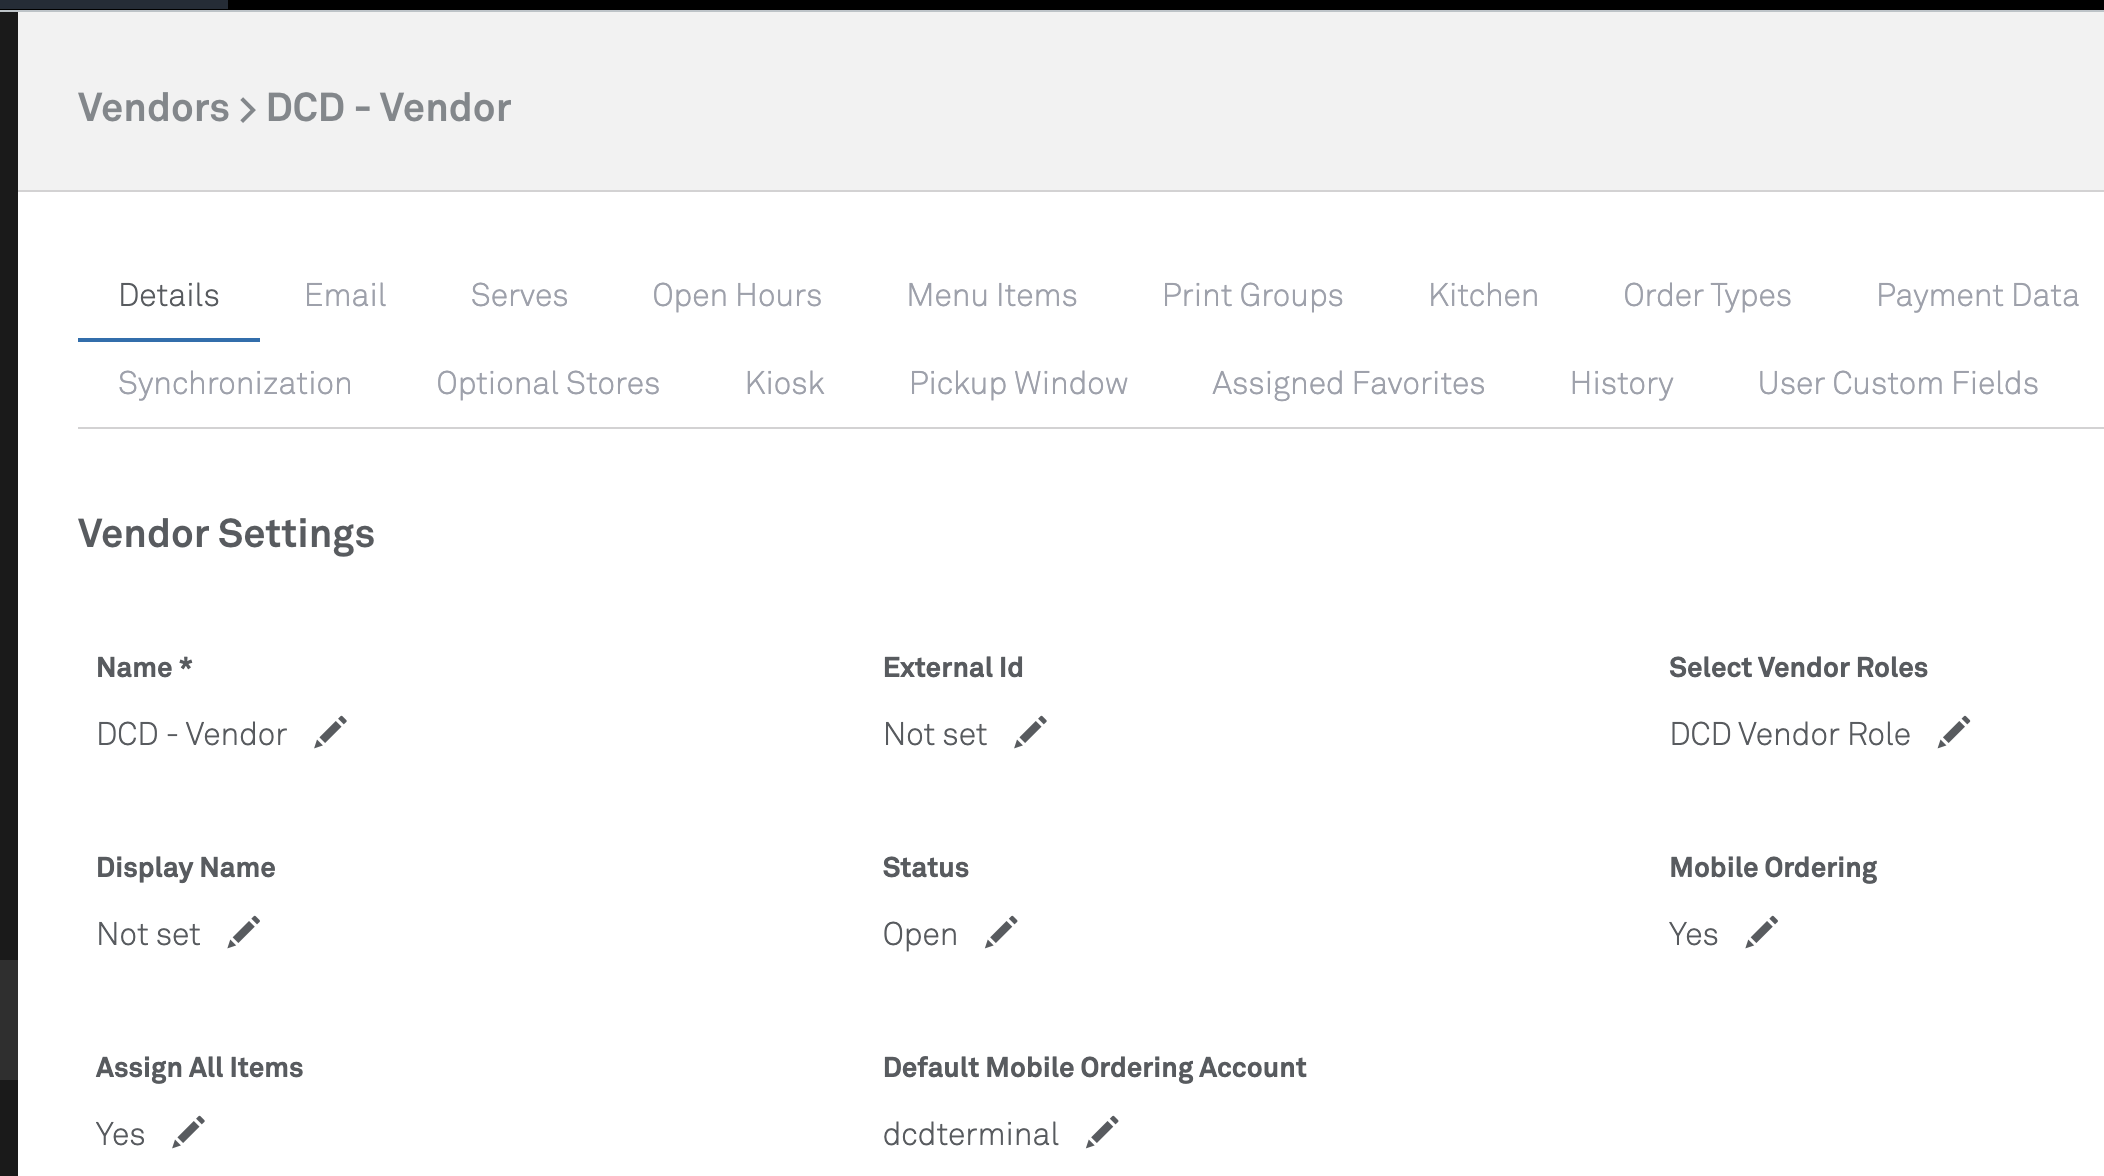
Log in to the venue and navigate to the Vendor you created and edit it. On the details tab we now need to set the following:
- “Mobile Ordering” : Set this to “Yes”. Once you do, the configuration below will show up
- “Default Mobile Ordering Account” : Set this to the terminal account you just finished creating
Enabling Mobile Access
The “Mobile Ordering” flag is how you control whether this Vendor will be permitted for API access or not. The enabling API access guide explains how the API Key you receive is configured by API and Venue, not by Vendor. So unless you enable this flag, your vendor will not show up nor be available for use within API calls.
And yes, we are aware the name of the flag doesn’t make sense for the purpose it serves… which is why we have this callout until it is corrected!
Configure Your Vendor
And that’s it! At this point you have your vendor setup and ready to go. You can either setup a catalog via the backoffice (if you plan to sell items via the ordering endpoints), or go right ahead and enable & validate your API access.