Ok, so you’ve gone through the initial setup of creating your Corporate/Venue and other desired setup, now it’s time to validate your API access
Requesting API Access
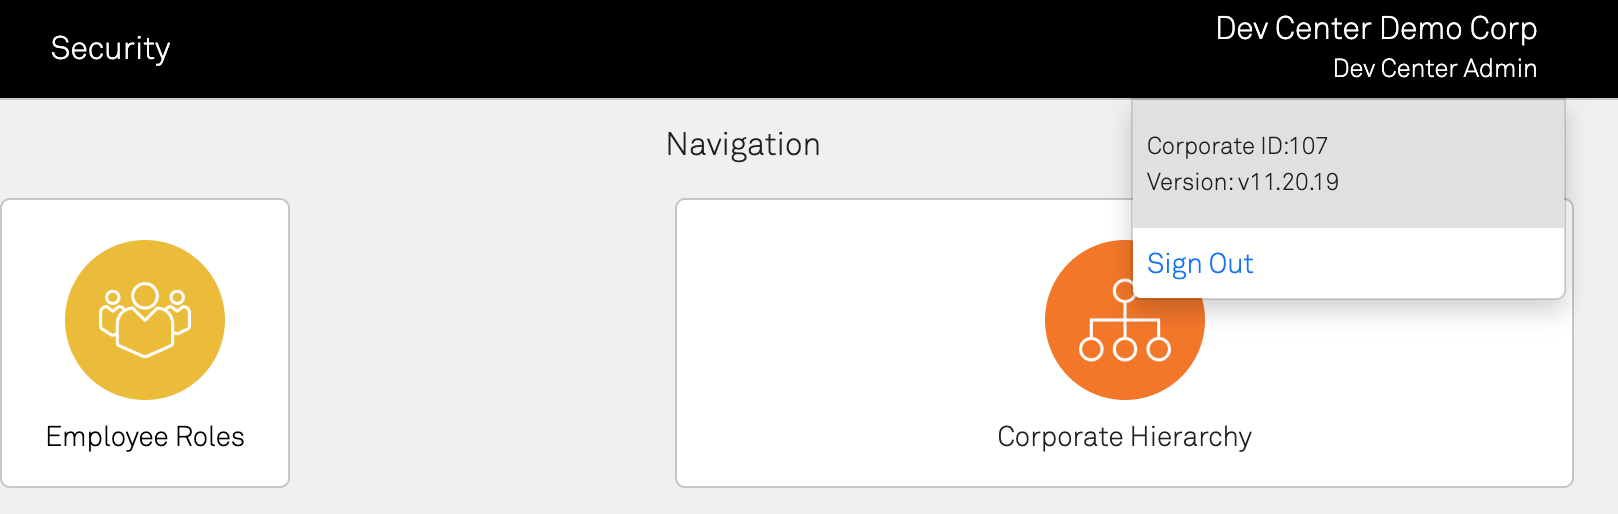
First step is going to be reaching out to your Appetize contact to request API Access - likely this will be your customer success manager or sales representative. They should be aware of your corporate ID and setup, but for your own reference if you ever need to find it yourself it is in the top right corner drop-down of the Corporate landing page:
Once you have been approved for API access (or sometimes during the approval process), they will ask you to provide the the list of venues you want allow API access to. They are tied to the authentication token and are necessary if you plan to allow that venue to operate with our APIs. We suggest finding the actual venue id’s yourself, as you will be needing them for your API calls anyways. The easiest way to find them is to log into the venue and expand the drop down on the top right corner - the id will be listed there.
Access Is By Venue
Currently our authentication is gated by API and Venue. We do not limit Vendors within the authentication token - you can however limit vendors returned by turning Mobile access on or off within the Vendor itself (explained in the creating you store guide)
Requesting API Access

Once you’ve determined the list of venues, and worked with your Appetize representative to get them setup, they will provide you with your API Key. Next step is then to fire up Postman™ and give your access a test!
Validate API Access
The first thing you’ll want to validate is that your API Key was setup correctly and actually gets you a valid authentication token. See the authentication guide for details on how to use your API Key to retrieve an authentication token for this test session.
If you are successfully able to retrieve the JWT authentication token from the authorization call, then the first step is complete and you have access! Next steps are optional to continue validations of the specific APIs. When doing this, check the authentication endpoint you used for your authentication token, as they are unique to each API.
Accounts API Validation
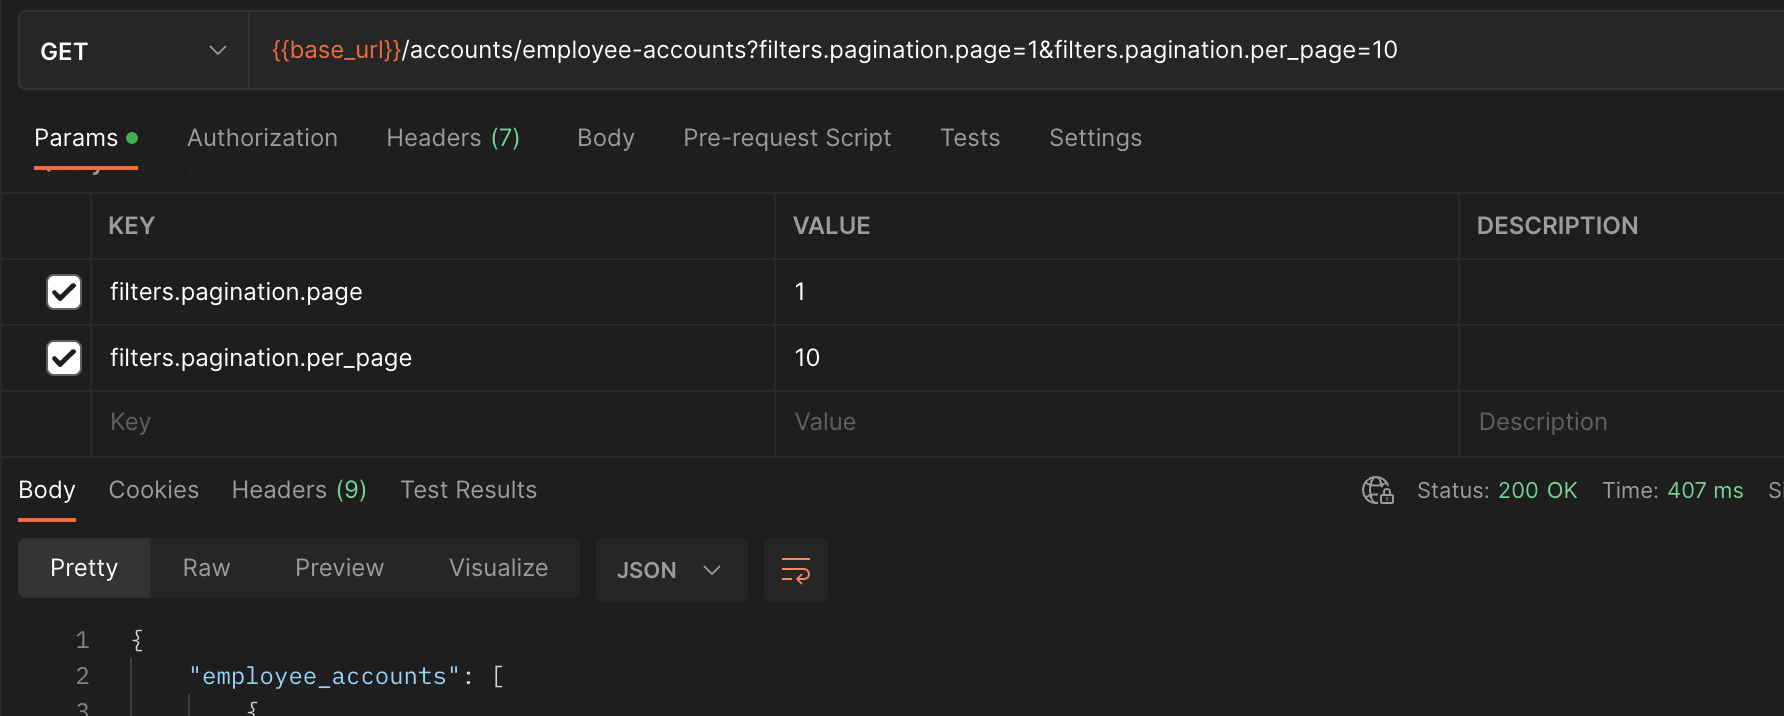
Retrieving employee accounts is the simplest way to validate your setup. If you haven’t created any Employees yet, this will still return successful just with an empty array.
Ordering API Validation
The easiest validation is to retrieve the list of all vendors. This also allows you to ensure all the vendors you desired to support Mobile Ordering are available. 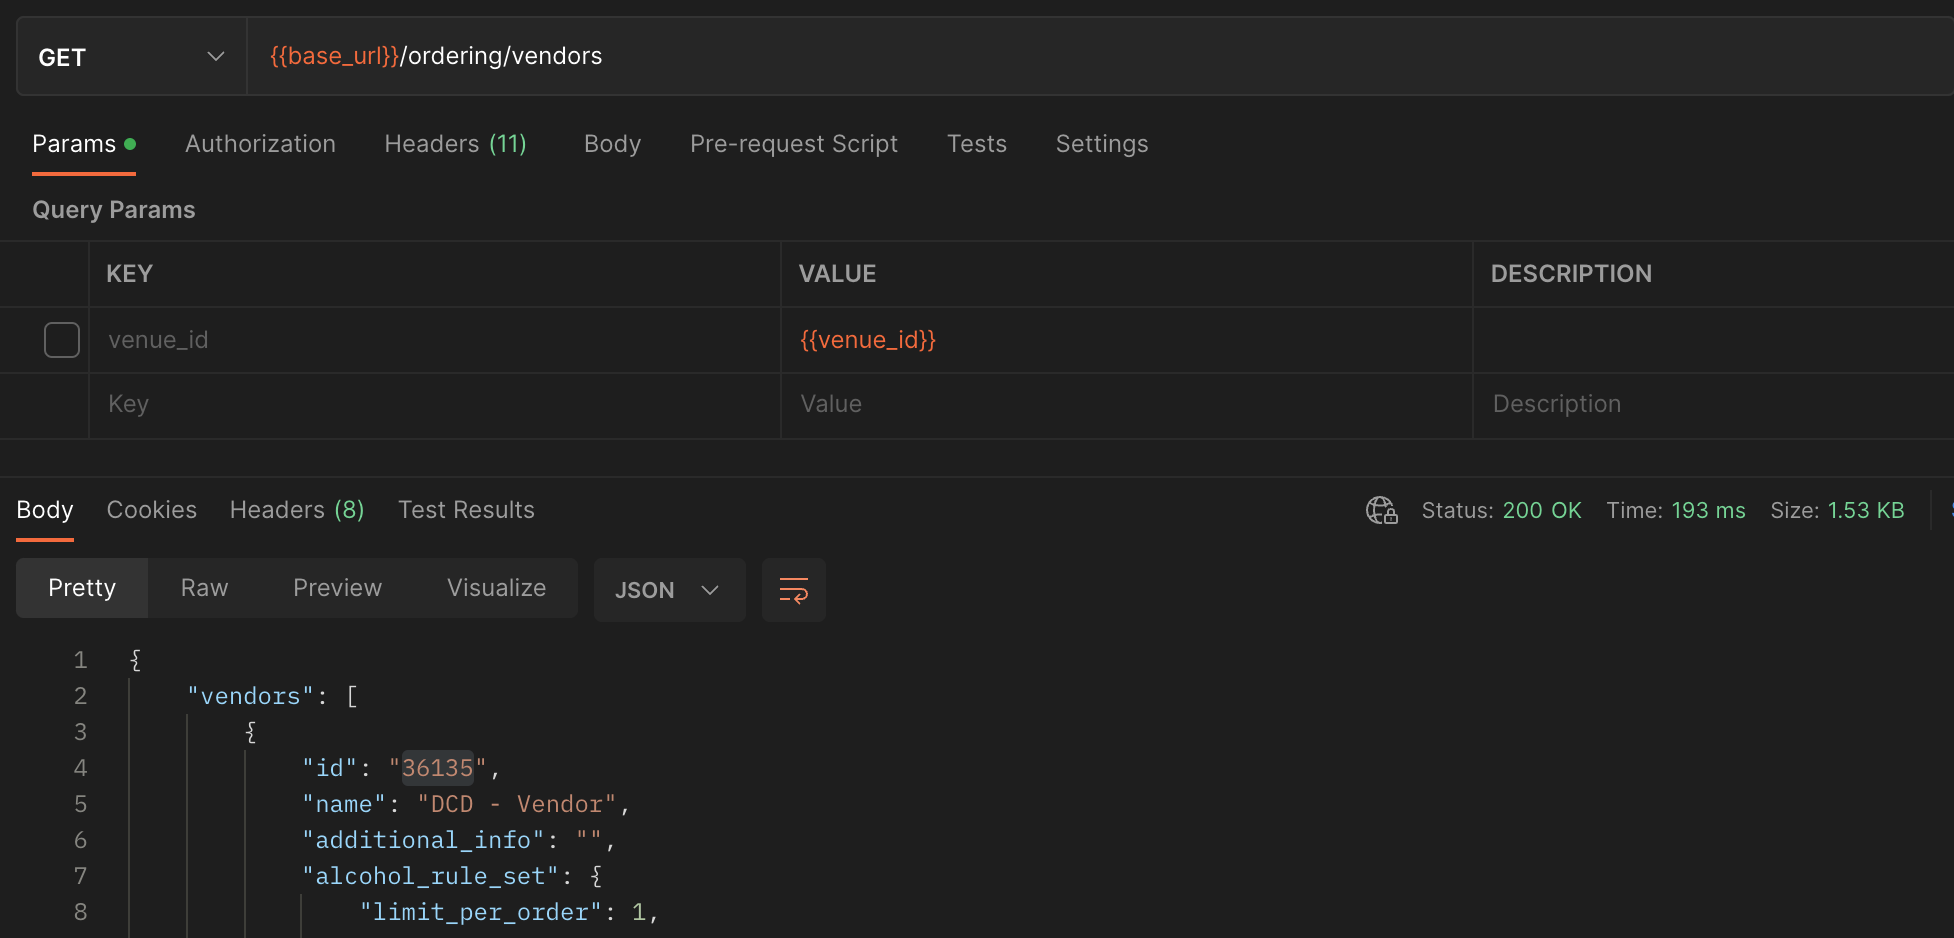
The above response will give you the vendor name and associated ID (which you will need for several future operations). If you want to manually find the vendor ID though, you can also do this through Connect by navigating to the Venue, going to the vendor list and hovering over the vendor row 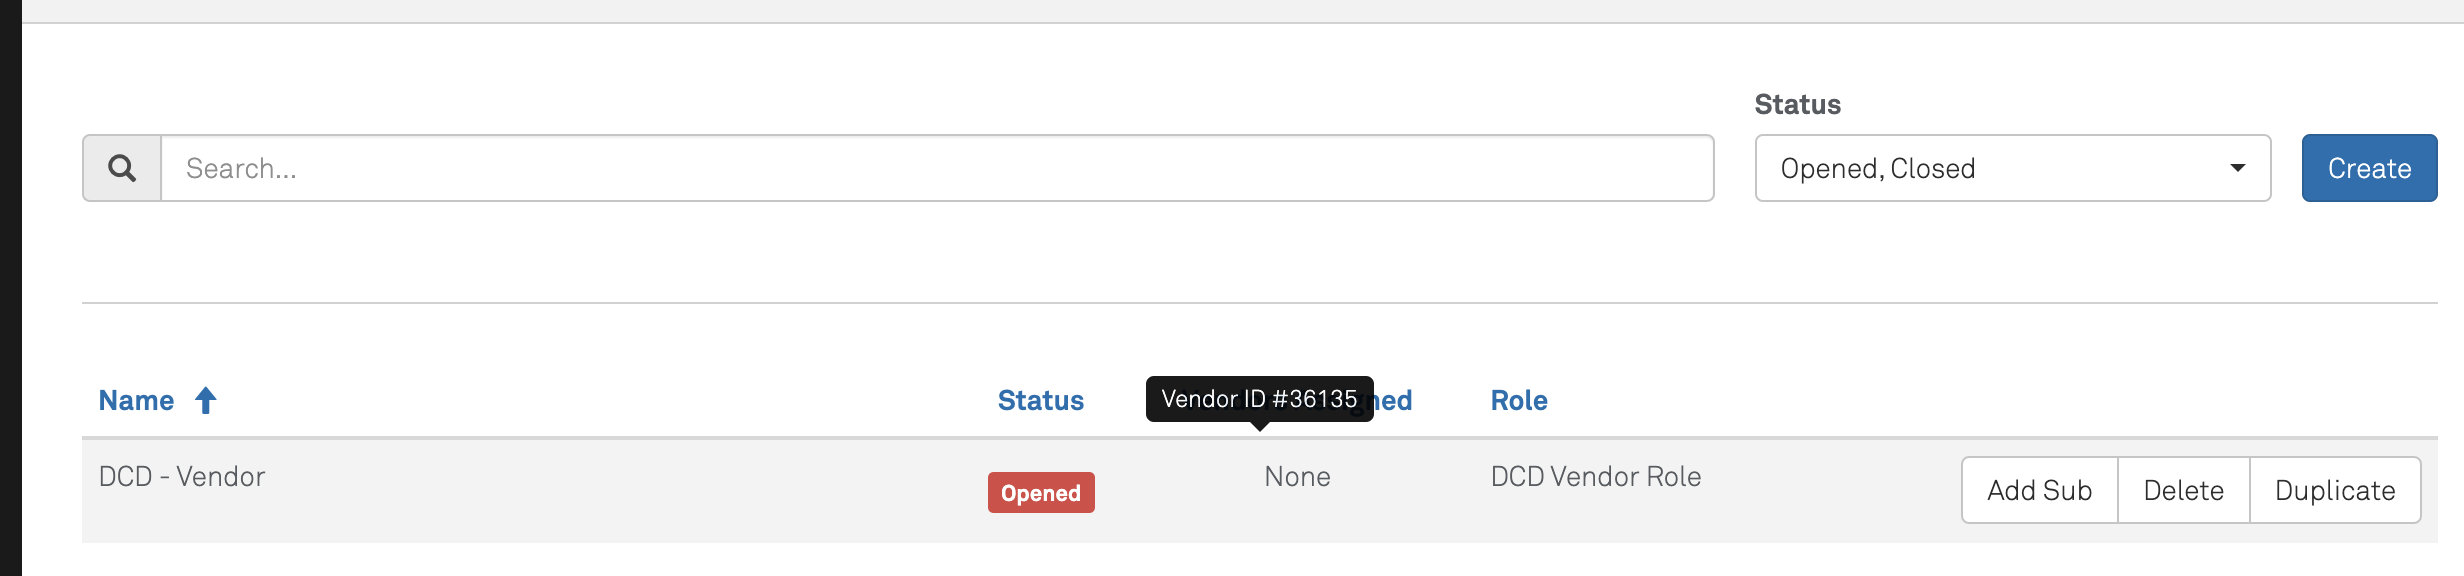
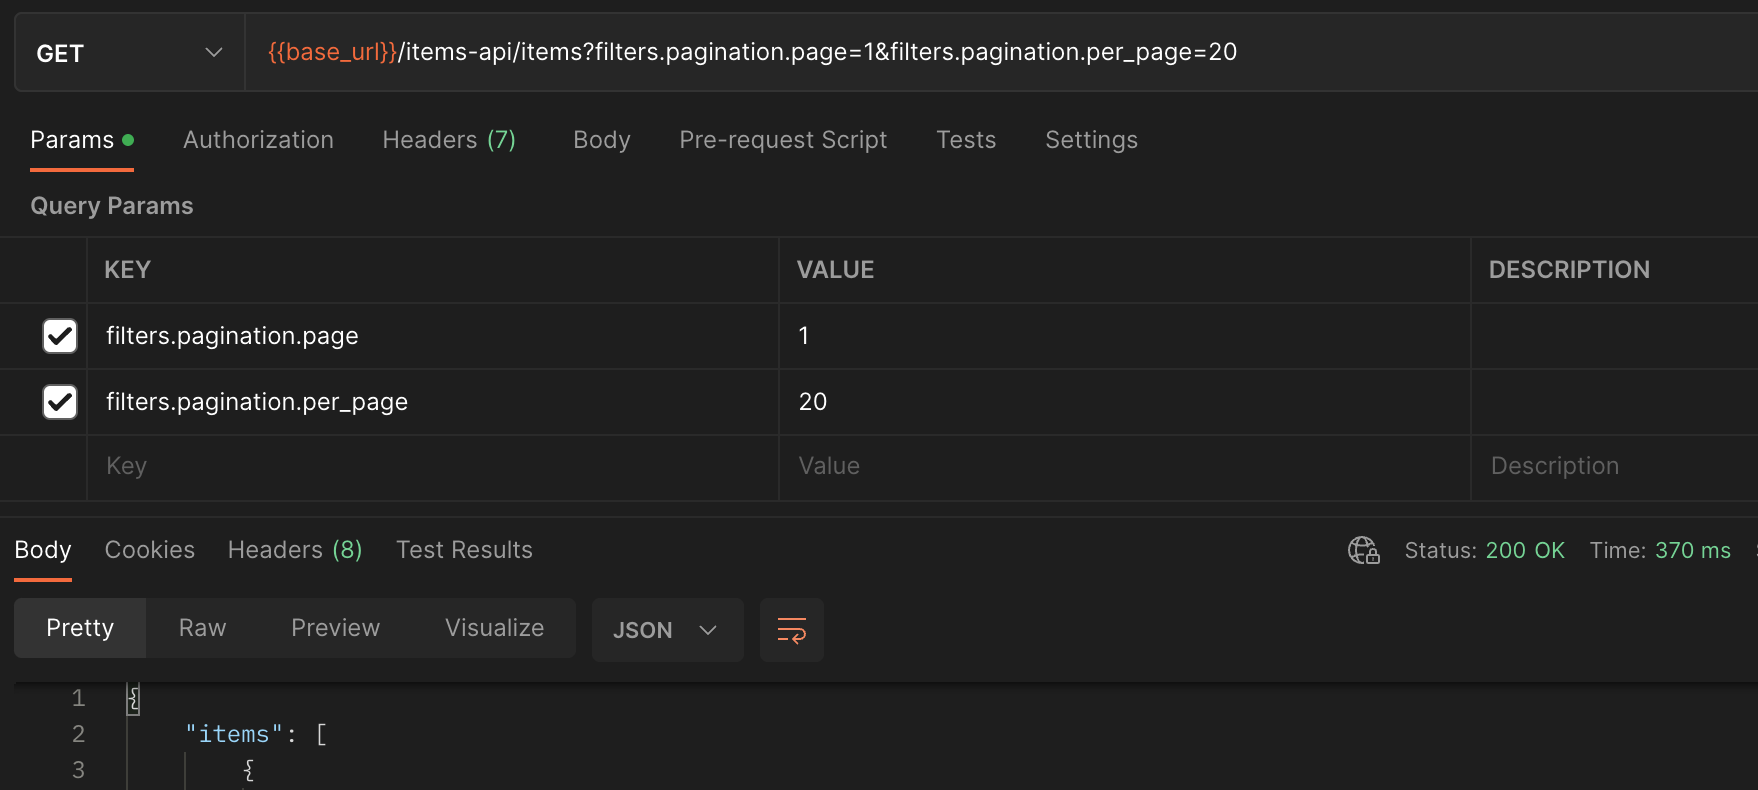
Catalog API Validation
If you have setup items and are looking to either consume or manage your catalog, then lets perform a quick test that everything is setup correctly. After following the guide to setup your catalog, we can perform a basic test to retrieve all items (reference the Swagger Documentation for details)
SUCCESS!!
Alright, you have everything you need to start development! Continue by diving into the API Guides for specific use cases, or jump over to the Reference section for all available endpoints if you have a custom scenario.